


More than 5,000 years ago, during the late Neolithic period, ancient Chinese artisans were already widely employing the lost-wax casting process in the manufacture of bronze artifacts. Drawing upon the inherent plasticity and thermal volatility of beeswax, these early craftsmen would first sculpt the wax into the desired shape to create a wax model. They would then encase the wax model in a layer of clay—leaving a small aperture—and allow it to dry before firing it in a kiln. This process caused the wax model to vaporize and dissipate, while the surrounding clay hardened into a ceramic shell, the inner surface of which retained a negative impression of the original wax model. Molten metal was then poured into the shell through the small aperture; once cooled, the shell was broken open to reveal the desired metal casting. The fundamental principles underlying modern lost-wax casting technology remain unchanged, though the process itself has evolved to become far more complex and precise.
This evolution is primarily reflected in the significantly stricter requirements regarding the dimensional accuracy of the wax models. In modern practice, the creation of a wax model is no longer limited to direct sculpting; instead, a negative mold can be generated by taking a silicone impression of an original metal master model (or pattern), into which wax is subsequently injected to produce the final wax model. Furthermore, the casting material used to form the shell is no longer clay, but has been replaced by specialized casting plaster. Consequently, the products yielded by this modern process are vastly more refined than their ancient counterparts.
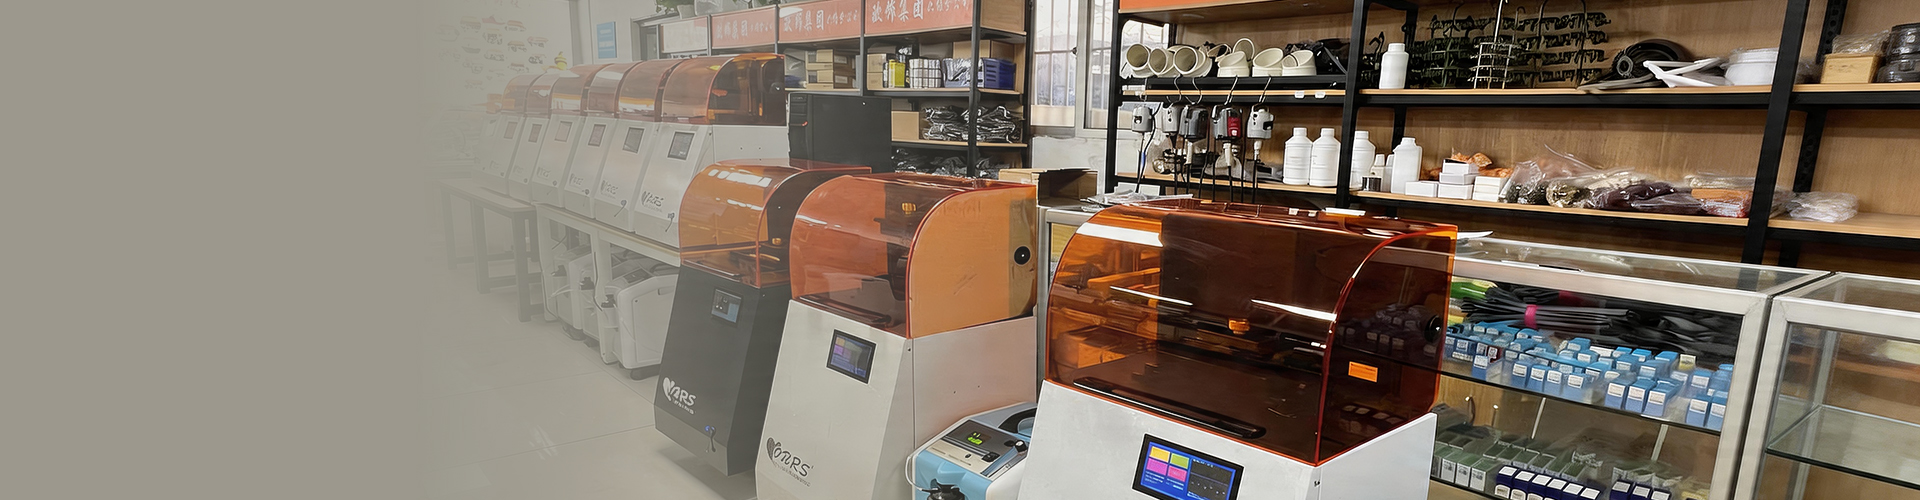
In instances where an original master model does not exist, a sculptor is required to meticulously carve the master model piece by piece—adhering strictly to the design blueprints—before the molding process can commence. This places extremely high demands on the sculptor's skill; however, in today's technologically advanced landscape, 3D printing technology has reached a remarkable level of maturity. The Oushi 3D printer, in particular, offers a combination of user-friendly operation, rapid printing speeds, and exceptional precision, making it the definitive choice for creating master models within the jewelry industry.

Once the master model has been completed, the next step is the compression molding of the rubber mold. The material used for creating these molds consists of sheets of raw rubber coated with adhesive on both sides. Typically, imported rubber sheets are utilized. One variety is relatively lower in price; due to its lower natural rubber content, it yields a slightly harder mold after vulcanization, yet it requires a shorter molding time—making it suitable for operation by highly experienced mold makers. The other variety is slightly higher in price and contains a greater proportion of natural rubber; it features a soft texture and exceptional resilience, making it ideal for molding ceramic wax patterns with intricate designs, minute contours, or pronounced relief features, as it minimizes the risk of breaking the wax model during extraction.
Particular attention must be paid to temperature control when storing these raw rubber sheets. Generally, they can be preserved for one year at temperatures below 20°C, while storage at 0–5°C extends their shelf life to 2–3 years. Additionally, there are pre-fabricated rubber molds available in a range of standard sizes and thicknesses; these feature internal interlocking lugs and offer a high degree of convenience in use.

The equipment used for molding silicone dies is the Oushi molding machine or a pneumatic molding machine. Its main components consist of two heating plates—each embedded with resistance wires and temperature-sensing elements—along with a thermostat and a timer (though some models lack the latter device). The molding machine is also equipped with a lifting screw mechanism to facilitate the molding process and the removal of the finished die. Used in conjunction with the machine is a molding frame; these frames are classified into various models—such as single-plate, double-plate, or four-plate versions—depending on the number of apertures they contain. The material typically used to manufacture these molding frames is aluminum alloy.


While rubber molds may appear simple, their creation actually involves numerous details that demand meticulous attention. First and foremost, the cleanliness of both the mold frame and the raw rubber sheets must be ensured; prior to molding, the frame should be thoroughly cleaned, and the operator must wash their hands and the workbench. Second, it is essential to prevent the ceramic wax model from adhering to the rubber. Third, one must carefully determine the appropriate vulcanization temperature and duration based on the specific circumstances. These two parameters not only follow a general functional relationship but are also contingent upon the thickness, dimensions, and complexity of the ceramic wax model. Typically, the molding temperature is set at approximately 150°C. If the rubber mold consists of three layers (approximately 10 mm in thickness), the standard vulcanization time is 20 to 25 minutes; for four layers (approximately 13 mm), the duration may be extended to 30 to 35 minutes—and so on. Furthermore, the vulcanization temperature is also influenced by the complexity of the ceramic wax model: if the model features intricate or delicate designs, the temperature should be lowered while the duration is extended (for instance, some master craftsmen opt to lower the temperature by 10°C while doubling the vulcanization time); conversely, if the temperature is set too high, it may compromise the quality of the resulting rubber mold.
The overall quality of the rubber mold also depends on the quality of the embedding process for the master model. Broadly speaking, the primary objective is to ensure that the raw rubber sheets bond firmly and tightly together. This begins with guaranteeing the cleanliness of the rubber sheets; one should avoid direct manual contact with the rubber surface, instead peeling off the protective film covering the sheet only after it has been positioned and adhered. It is crucial to ensure that absolutely no gaps exist between the raw rubber and the original master model. Great care must be exercised when embedding the model in the rubber—particularly regarding intricate patterns or minute cavities (such as the base openings beneath gemstone settings)—which must be meticulously packed with small rubber granules and firmly compressed using a sharp instrument (such as the tip of a pair of tweezers). To prevent the resulting rubber mold from becoming excessively rigid, the rubber should be packed and compressed in a consistent, uniform direction during the embedding process.
To ensure that the rubber mold remains serviceable for an extended period, it must possess sufficient structural thickness; consequently, a single rubber mold should, at a minimum, be fabricated using three layers of raw rubber sheets. After stacking and pressing the raw rubber against the ceramic wax model, the resulting rubber mold assembly should be slightly larger than the mold frame—specifically, its length and width should be marginally greater (allowing it to be firmly pressed into the frame). Furthermore, once seated within the frame, the thickness of the rubber mold should protrude slightly—by approximately 2 mm—above the plane of the frame itself.
When operating the mold press, it is essential to first preheat the unit. Next, insert the mold frame—now loaded with the prepared raw rubber—and tighten the handle to ensure the heating plates firmly clamp down on the frame. During the initial stages of vulcanization, verify that the heating plates remain securely clamped. Once the designated vulcanization time has elapsed, promptly remove the rubber mold. Ideally, allow it to cool naturally (though it may also be cooled rapidly with cold water); once it has cooled to a temperature that is comfortable to the touch—but while still warm—you may proceed to cut open the rubber mold using a sharp surgical scalpel.
TAG: